
VNet Peering connects two virtual networks to share the resources in one region or across different regions in the Azure network. This allows you to share virtual machine resources, and backups and manage the disaster recovery.
In this blog, I have covered everything you must know about Azure VNet Peering which is an important topic for the AZ-900: Microsoft Azure Fundamentals Certification exam.
Furthermore, you can learn how to deploy Azure VNet Peering in our guided hands-on labs.
Let’s dive in!
What is Azure VNet Peering?
Virtual Network in Azure can be used for the Virtual network peering to achieve flawless communication with the Azure virtual networks.
Azure Virtual Network (VNet) Peering can allow one virtual network traffic to communicate with another virtual network. It can help to do disaster recovery, cross-region data replication, or database failover.
The VPN gateways will be in encrypted form in the region but VNet Peering offers connection sharing in varied regions.
For the AZ-900 certification exam, having an understanding of Virtual Network (VNet) Peering is important as it falls under the broader category of networking concepts in Microsoft Azure.
Also Read: Free Microsoft AZ-900 exam questions
Significance of VNet Peering
Azure Virtual Network (VNet) Peering offers various connection types tailored to different networking needs. Understanding these types allows businesses to customize their network architectures.
Here are the primary types of VNet Peering:
- VNet Peering within a Single Region: This type connects Virtual Networks within the same Azure region. It’s common for businesses to need communication between resources in different VNets within a specific geographic area. This peering type provides low-latency communication and forms the basis for complex network architectures.
- Global VNet Peering: It extends VNet Peering across Azure regions worldwide. It enables seamless connections between Virtual Networks in different geographic areas. This is beneficial for organizations with a global presence, facilitating unified communication and resource access across regions.
- Peering Across Different Subscriptions: This type allows the connection of VNets from different Azure subscriptions. It’s useful when resources are distributed across separate Azure accounts but still need secure and efficient communication. It streamlines communication of the network without compromising the network’s security or performance.
- VNet Peering Across Different Azure AD Tenants: Azure Active Directory (Azure AD) is essential for identity and access management in Azure. VNet Peering can be created across the VNets that belong to varied Azure AD tenants, enabling organizations with multiple Azure AD environments to maintain secure and isolated network communication.
- Remote Gateway Peering: It facilitates communication between VNets connected to on-premises networks through Site-to-Site VPN or ExpressRoute. This peering type extends connectivity from on-premises resources to resources in peered VNets, providing a comprehensive and integrated network solution.
- Transitive Peering within the Same Azure AD Tenant: Transitive peering involves interconnecting multiple VNets in a hub-and-spoke configuration within the same Azure AD tenant. In this way, traffic can flow from one spoke VNet, via the hub VNet to another spoke VNet.
How to implement Azure VNet Peering: A Step-by-Step Guide
In this guided lab, you will learn how to create two peered Virtual Networks, launch a VM in each, and establish communication between them.
To implement VNet Peering, you need to access the Whizlabs labs page. On that page, search Implementing VNet Peering in the search bar. Select the lab and follow the instructed steps to deploy VNet Peering successfully.
Task 1: Sign in to Azure Portal
Go to the Azure portal by clicking the Open Console button or by using the URL- https://portal.azure.com
Note: Use incognito mode to eliminate the Azure portal cache-related issues.
If it automatically logs into any other Azure account, please log out of it and clear the cache.
Sign in with your given username and password on the Azure portal.
If the login is not working. Click on End Lab and start the lab again.
Task 2: Create Virtual Networks
In this lab, you will create virtual networks in Azure, enabling you to build isolated and secure network environments for your applications and resources, with the ability to configure network settings and establish connectivity.
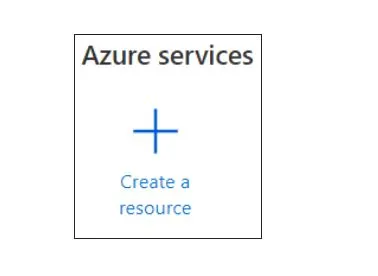
To create a virtual network, click on Create a Resource button.
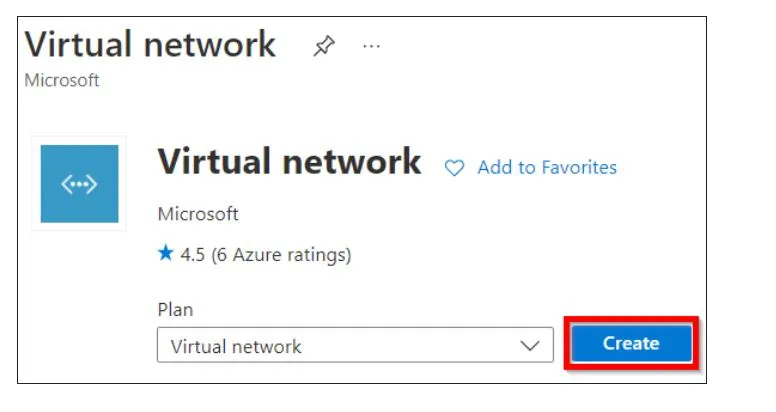
In the search box, pick the Virtual Network by clicking the dropdown menu and click Create.
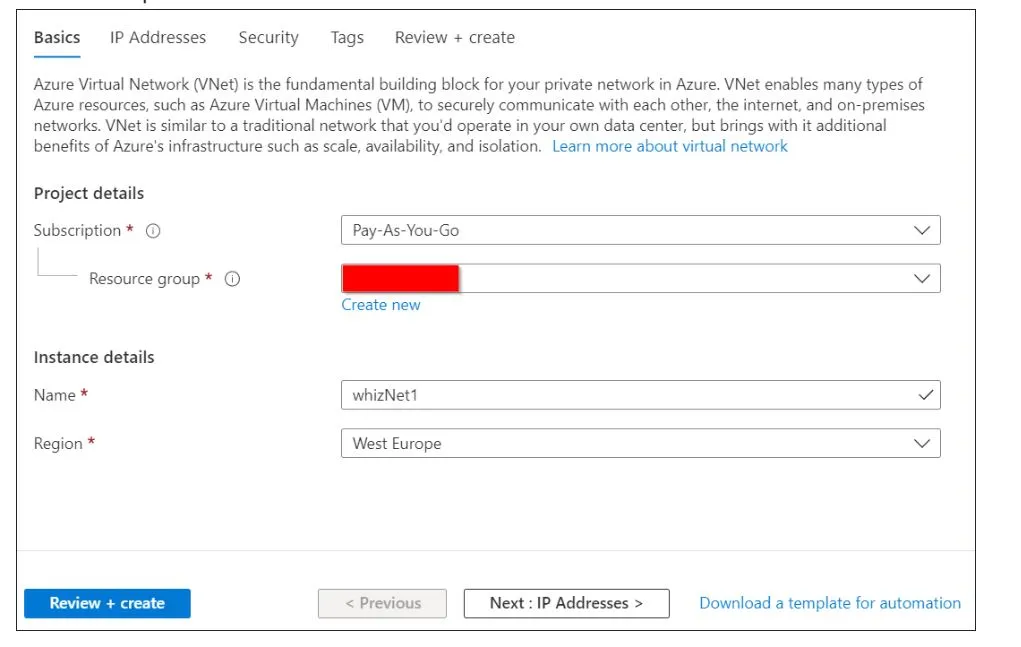
Enter the following values under the Basics tab.
Click on the Next: IP Addresses > button and key in or select the following details:
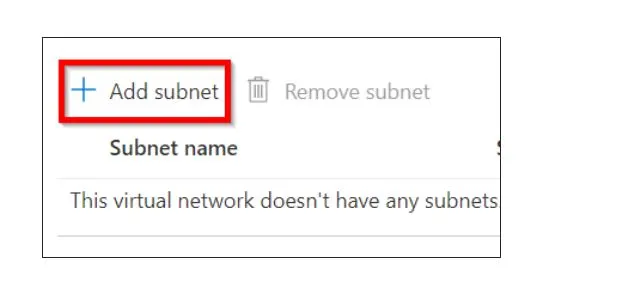
On the left sidebar of the default subnet, you can see the remove subnet button. Click on it.
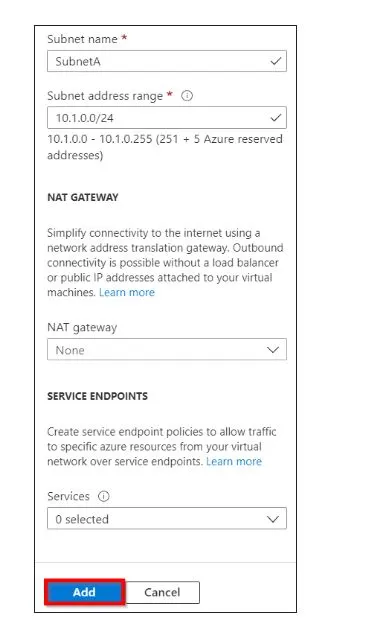
Select the Add Subnet button and enter the subnet page details as follows:
After the successful entry of the subnet details, click on the add button.
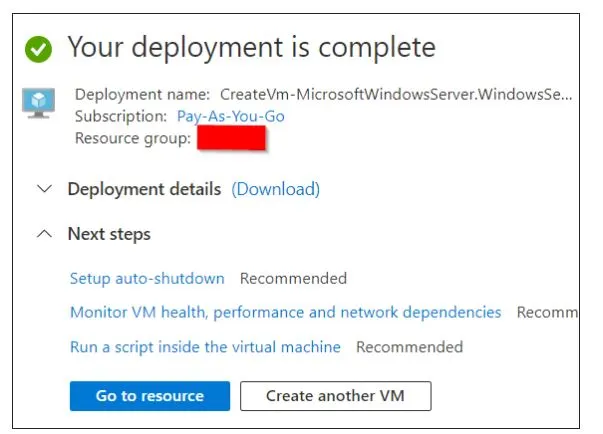
Select Review + Create and then select Create.
Repeat the above steps to create the second Virtual Network with the following details:
Now you can see that your deployment completed message.
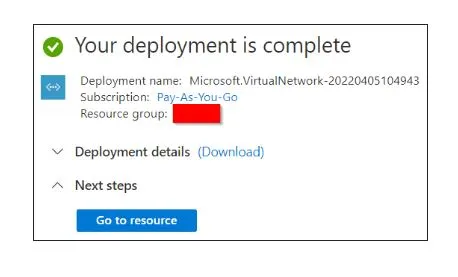
After that, click on Go To the Resources option.
Task 3: Peer the Virtual Networks
In this section, you will gain insights into the process of setting up network peering within Azure. This involves connecting virtual networks to facilitate secure communication and resource sharing between them.
The establishment of network peering creates a seamless and scalable network architecture, enhancing the connectivity of your applications and services.
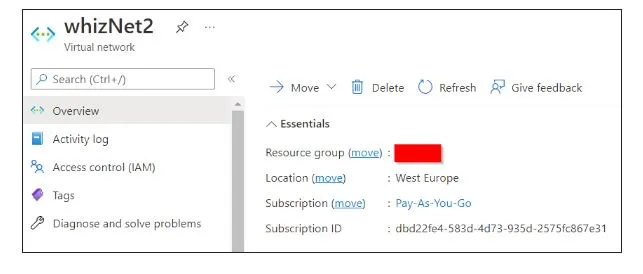
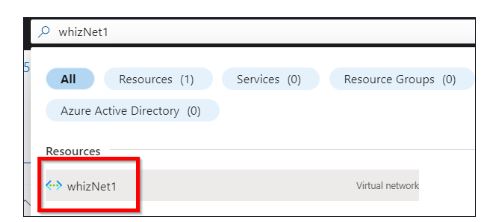
In the search box at the top of Azure Portal, search for whizNet1 and select it from the list.
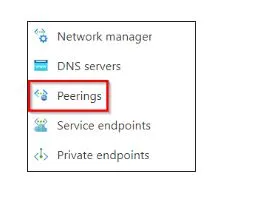
From the left menu, scroll down under the Settings section and select Peerings.
Click on the Add button and enter or select the following details and click on Add. Both the VNets have now peered as the Peering Status shows Connected.

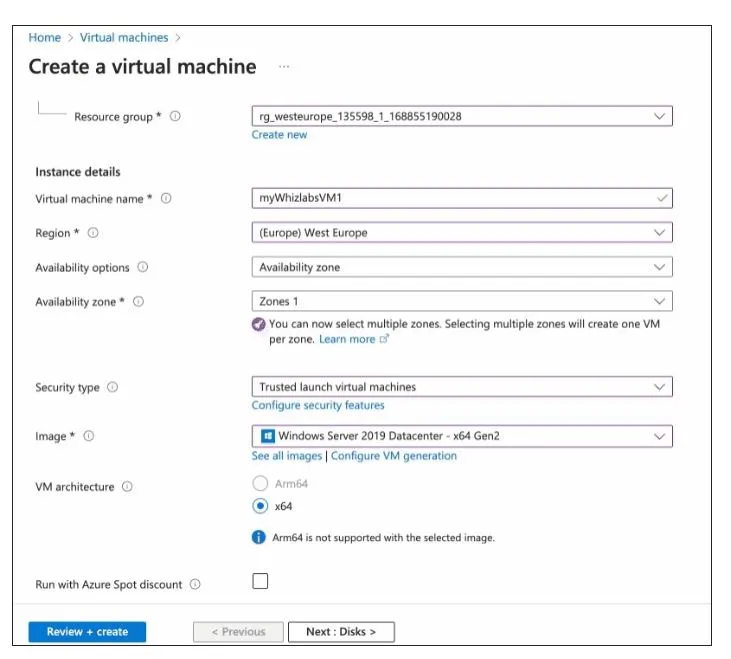
Task 4: Create Virtual Machines
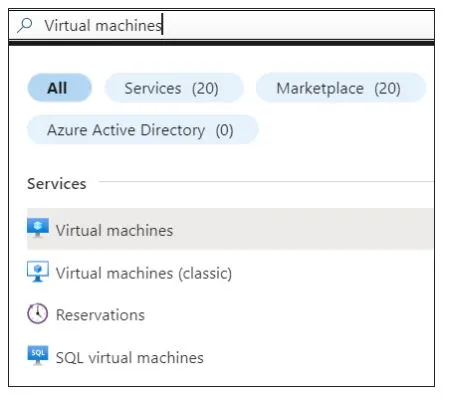
In the search box at the top of Azure Portal, search for Virtual Machines and select it from the list.
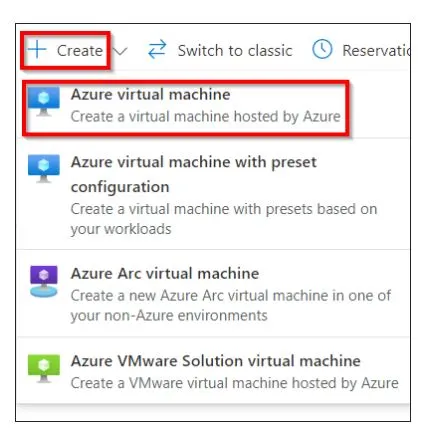
Click on the Create button and select Azure Virtual Machine.
- On the Basics tab, enter or select the following details: Resource group, Instance details, and Administrator Account
- Set the Inbound Port rules by setting the Public inbound ports as Select Allow selected ports and choose inbound ports as RDP (3389).
Click on the Next: Disk > button and select the OS disk type as Standard SSD.

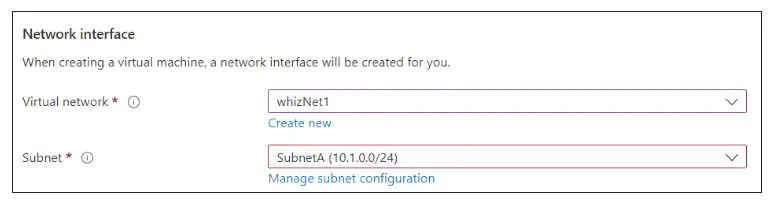
Click on the Next: Networking > button and enter or select the following details.
Click on the Review + Create button and then select Create.
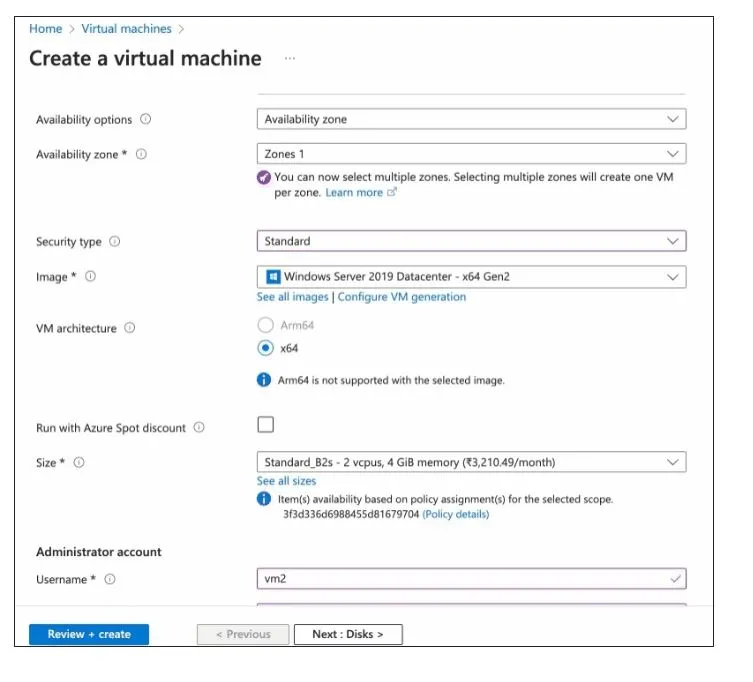
Repeat steps 1 – 6 to deploy another VM and enter the following details.
Task 5: Establish Communication between Virtual Machines
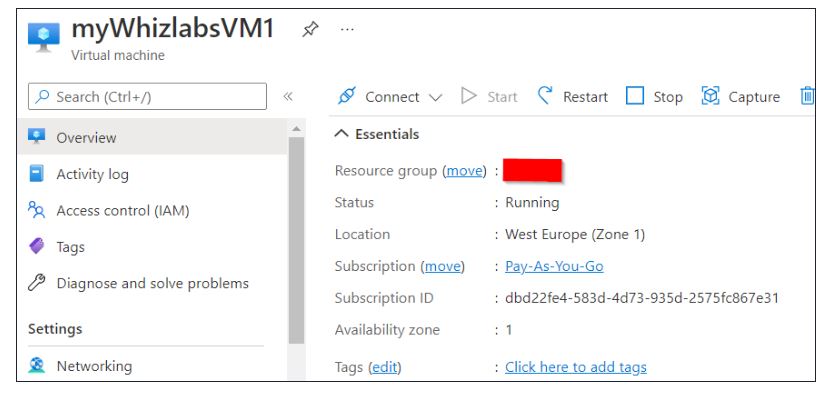
In the search box at the top of Azure Portal, search for Virtual Machines and select myWhizlabsVM1.
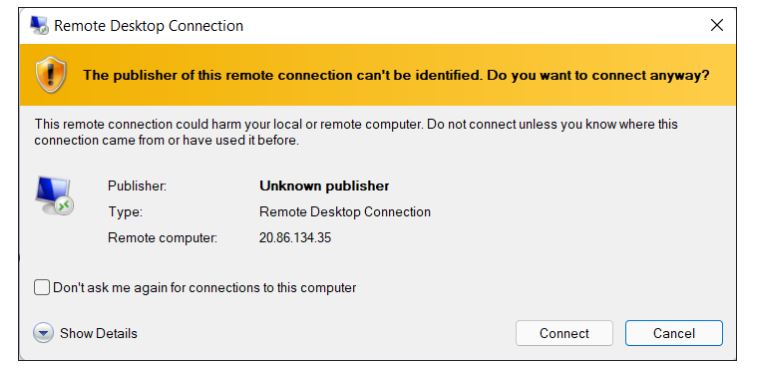
To connect to the virtual machine, select Connect and then select RDP from the dropdown. Select Download RDP File to download the remote desktop file.

Open the downloaded RDP file and click on Connect in the displayed prompt.
On the Windows Security prompt, select more choices.
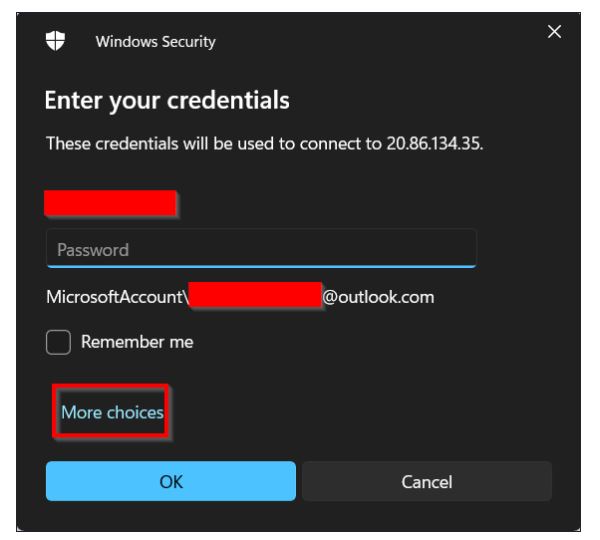
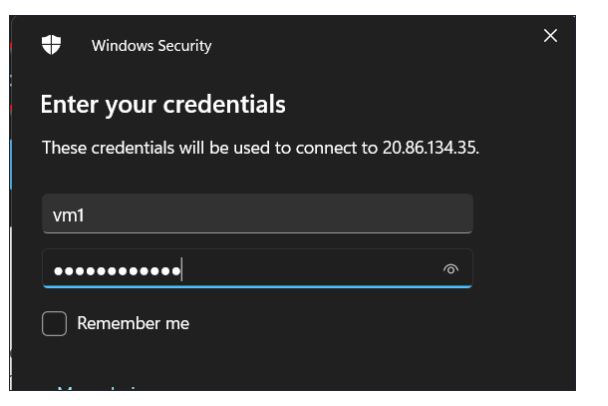
Use a different account and key in the username and password while switching to Virtual Machine and select OK.
You will receive a warning certificate during the sign-in process. Click on Yes to continue.

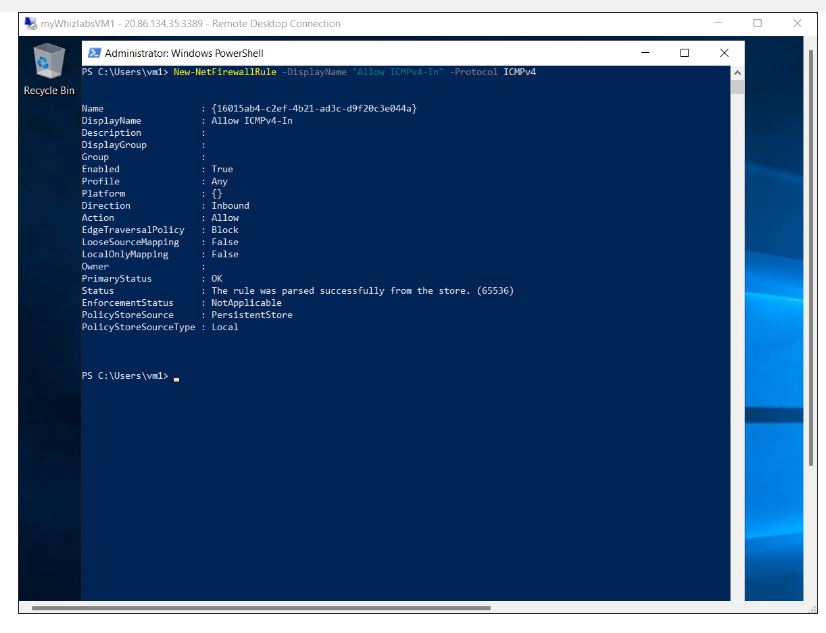
In the VM, open Powershell and enter the given command to enable Internet Control Message Protocol (ICMP), which is denied through the Windows firewall by default.
To connect to myWhizlabsVM2, enter the following command in the command prompt on myWhizlabsVM1 and enter the credentials of myWhizlabsVM2 on the login prompt.
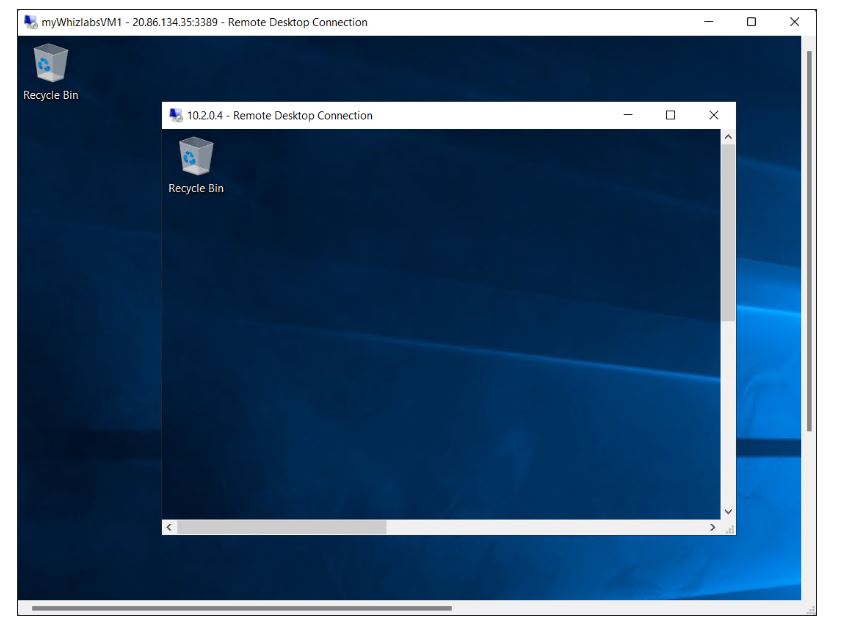
Now, we have successfully logged into myWhizlabsVM2 from myWhizlabsVM1.
Task 6: Validation test
Once the lab steps are completed, click on the Validation button or go to the Lab Validation section.
Click on the Validate My Lab button. You will get the “Lab Overall Status” which will indicate whether or not you have completed the lab successfully.
Task 7: Delete the Resources
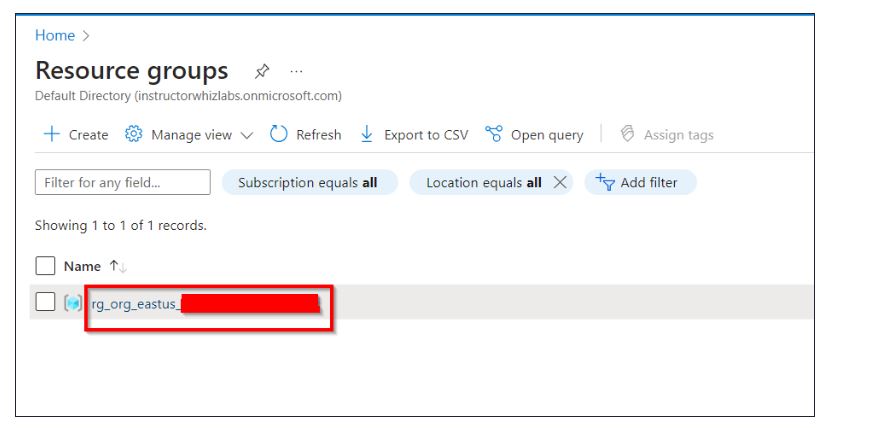
Enter Resource Groups details in the search box present at the top of the Azure portal and Select Resource groups from the search results.
Click on the name of the Resource groups
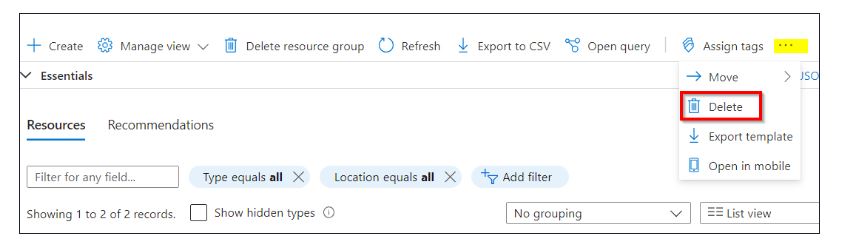
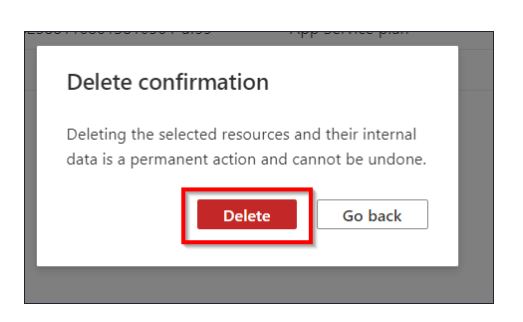
Select all the Resources in that Resource groups

Go to Three dots to the right and then click the Delete button.
Azure VNet Peering Pricing
Pricing is a critical consideration when implementing Azure Virtual Network Peering, and understanding the associated costs is essential. The key pricing considerations for Azure Virtual Network Peering are as follows:
- Data Transfer Costs: Data transfer between peered Virtual Networks is typically free within the same Azure region. However, if data is transferred across regions or over the internet, standard data transfer charges will apply.
- Gateway Transit Costs: Enabling gateway transit in a peering configuration may result in additional costs related to virtual network gateways. This encompasses charges for the gateway itself and any data processed through it.
- Bandwidth and Throughput: Assess the bandwidth requirements for your peered Virtual Networks. Azure offers various options for network bandwidth, each with its associated cost. Choosing the appropriate bandwidth level is crucial based on the specific needs of your application.
Understanding and considering these factors will enable effective cost management when implementing Azure Virtual Network Peering.
Always refer to the official Azure pricing documentation for the most up-to-date and detailed information on the costs associated with Virtual Network Peering.
Benefits of Azure VNet Peering
The key benefits of Azure VNet Peering such as:
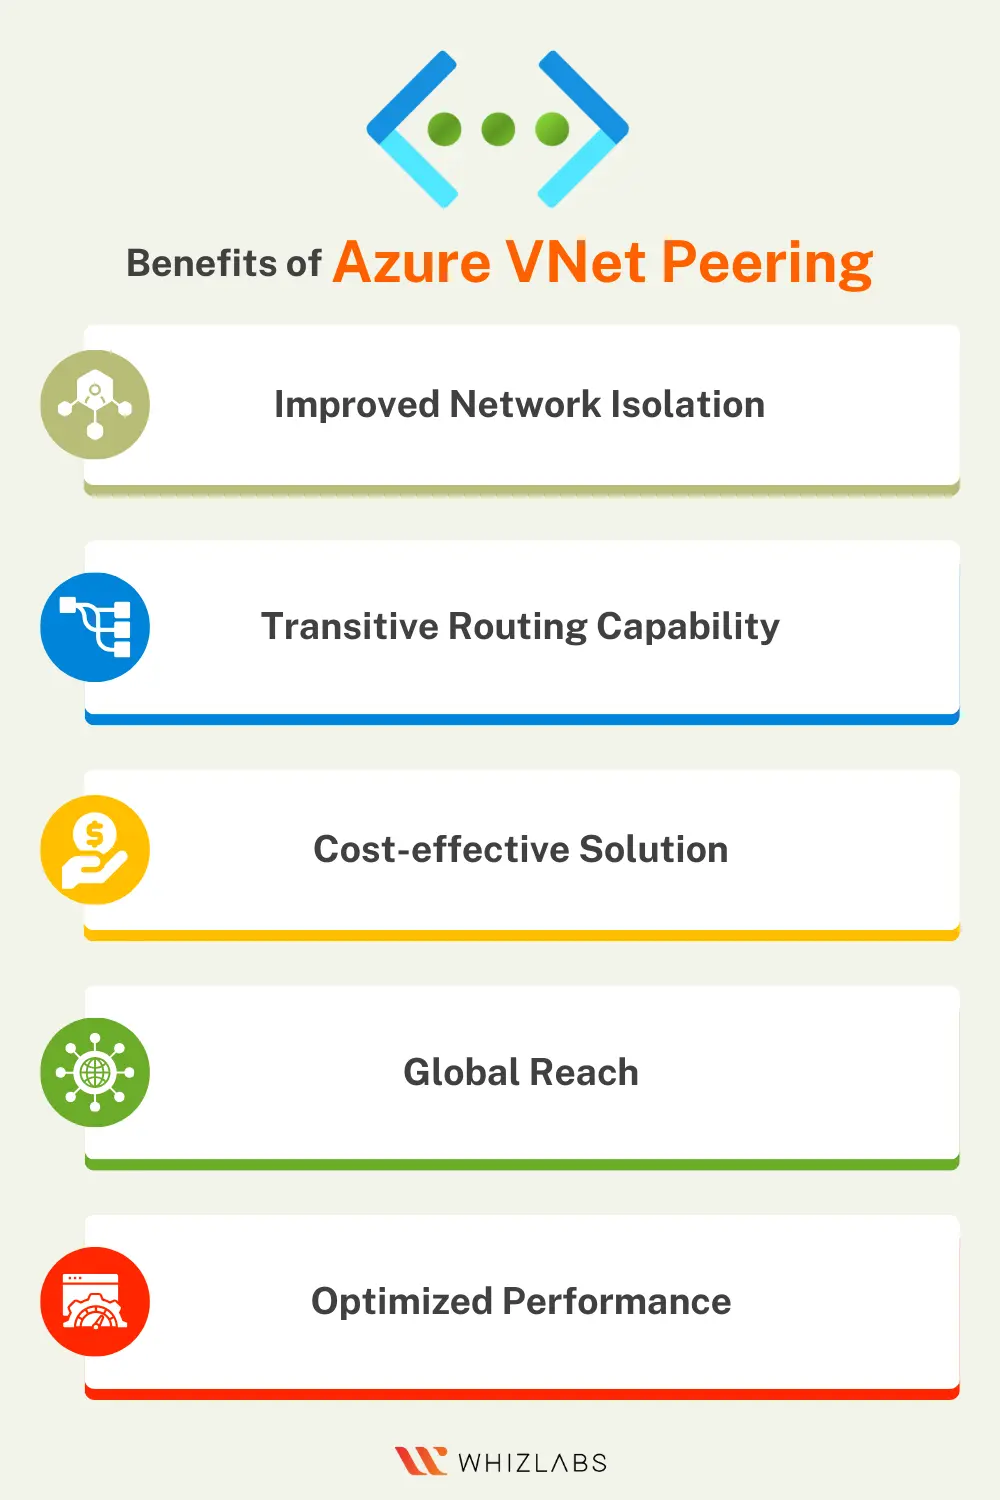
Improved Network Isolation
Azure VNet Peering can ensure a secure communication channel between the Virtual Networks by managing the network traffic isolation from the other VNets. It helps to secure the sensitive information.
Transitive Routing Capability
With Azure VNet Peering, communication between the virtual networks happens directly with one another, even if they are segregated in isolated regions/subscriptions. It helps to build complex network architectures by allowing the data to flow through the multiple interconnected VNets.
Cost-effective Solution
Unlike older VPN connections, VNet Peering does not require a virtual network gateway. It results in infrastructure cost reduction and simplified network configurations.
Global Reach
Azure VNet Peering aids connections across varied Azure regions and tenants. This feature makes it a versatile solution for businesses with a global presence.
Optimized Performance
By managing the public internet, VNet Peering achieves low-latency communication between the VNets. This results in faster and highly reliable data transfers.
FAQs
What are the risks associated with VNet peering?
The default setting in VNet peering allows all resources within peered virtual networks to have visibility of each other. In situations involving multiple organizations, this can pose significant security challenges.
Is VNet Peering Secure?
Yes, VNet peering is found to be highly secure as it works within the Azure backbone network to ensure the traffic stays within Microsoft’s network infrastructure.
Is Azure VNET peering free?
Azure Virtual Network (VNET) peering is provided at no cost. Each subscription can establish up to 50 Virtual Networks spanning all regions without incurring charges.
What is the limit of peering in VNet?
The Azure VNet peering limits up to 500 per virtual network, as specified in the Networking limits. Additionally, each virtual network is allowed one VPN gateway.
Conclusion
I hope you have gained a solid understanding of how to create peered Virtual Networks, launch virtual machines, and establish communication between them by following the above steps.
By elevating key skills in VNet Peering, you can easily clear the AZ-900 exam with flying colors.
You can also experience the power of VNet Peering in real-time scenarios by exploring our Azure sandboxes.
- Top 25 AWS Data Engineer Interview Questions and Answers - May 11, 2024
- What is Azure Synapse Analytics? - April 26, 2024
- AZ-900: Azure Fundamentals Certification Exam Updates - April 26, 2024
- Exam Tips for AWS Data Engineer Associate Certification - April 19, 2024
- Maximizing Cloud Security with AWS Identity and Access Management - April 18, 2024
- A Deep Dive into Google Cloud Database Options - April 16, 2024
- GCP Cloud Engineer vs GCP Cloud Architect: What’s the Difference? - March 22, 2024
- 7 Ways to Double Your Cloud Solutions Architect Role Salary in 12 Months - March 7, 2024