Opswork is a service that allows one to define and deploy a stack of components. Opswork is designed to work with the Configuration Management tool, Chef. Some of the key features of the Opswork service are
- Ability to automate the deployment of software packages on operating systems.
- Ability to control deployments and carry out Blue-Green Deployments if required.
- Integration with both Chef 11 and 12.
- Ability to have a database layer and an Elastic Load balancer attached to the stack
This topic addresses the Continuous Delivery and Process Automation topic as highlighted in the AWS Blueprint for the exam guide.

How does the OpsWork Stack look like?
The below diagram from AWS shows the basic structure of the Opswork stack
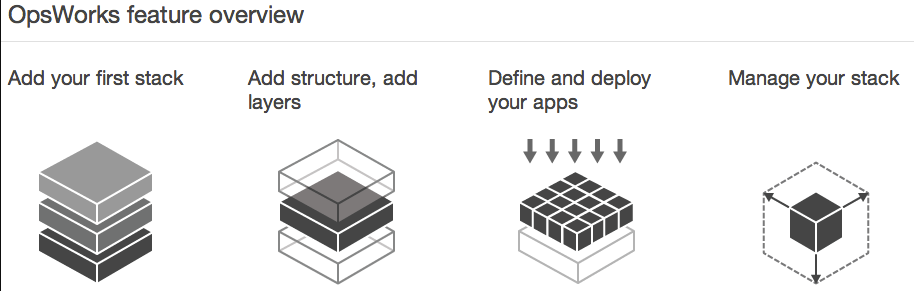
1) First is the definition of the stack itself. You could have stacks for different purposes. For example, you could have stacks for your staging environment, have a separate one for your production environment etc.
2) Once you define the stack, the next step is to add the layers. You can have multiple layers. For example, you have one layer which represents the Operating System layer and another layer which represents the Web server layer.
3) Next, you will define and deploy the apps onto your Opswork stack
4) And finally, you will manage your Opswork stack which includes adding new layers or modifying the components in the existing layers.
Implementing OpsWork Stacks
Now let’s have a closer look at how we can work with Opswork stacks. In the below example, we will create an Opswork stack using Chef11. We will use the built-in recipe’s available with the AWS Opswork service. We will choose to have nginx installed as a web server on the underlying instances created with Opswork. And finally, we will deploy a simple HTML (Demo.html) page to the underlying instances. Here we are assuming that there is a public GitHub repository in place which has the uploaded code.
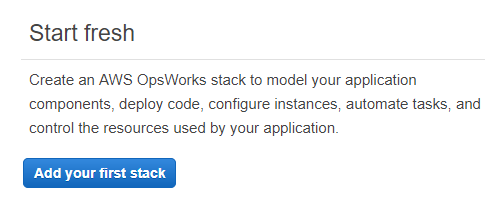
Step 1) Log into your AWS Console. Go to the Management Tools->OpsWorks section

Step 2) The first step is to create a stack, hence in the next screen, click on “Add your first stack”
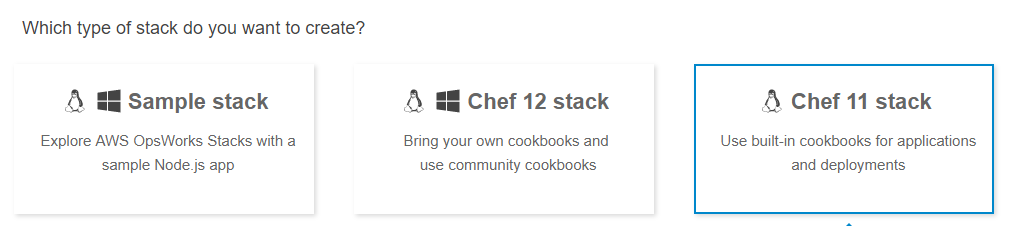
Step 3) In the next screen, choose a Chef 11 stack.
Step 4) Choose the operating system, remember that you can just have one type of OS for a stack. You cannot mix and match operating systems. For now, let’s leave the custom Chef cookbooks as ‘No’. We can also edit this setting once the stack is created.
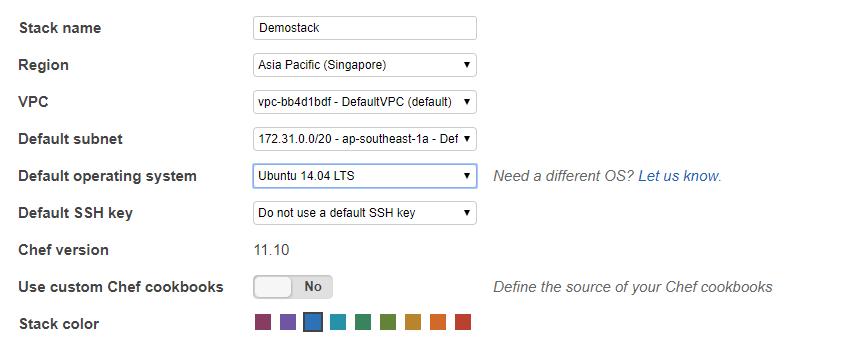
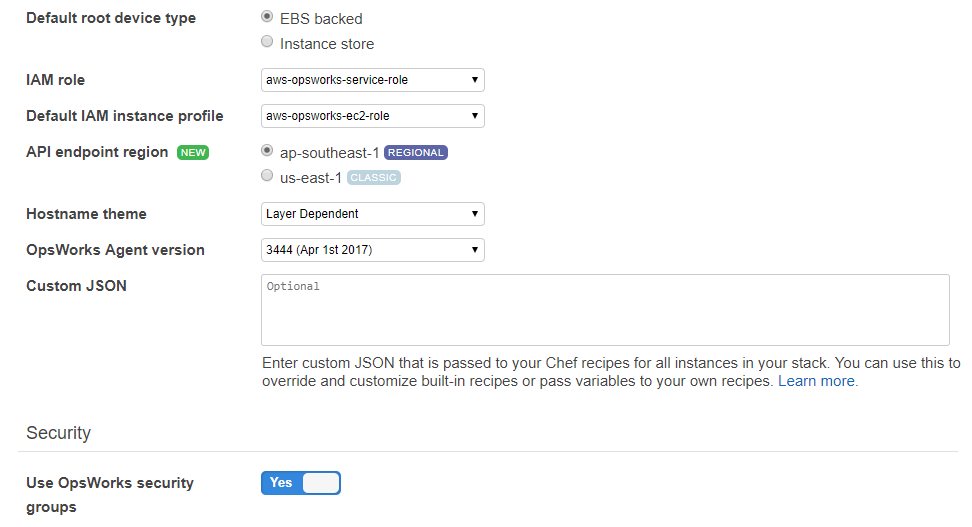
Step 5) Leave the rest of the settings as they are and continue to create your stack.
Step 6) Once the stack is created, next click on the Layers section.
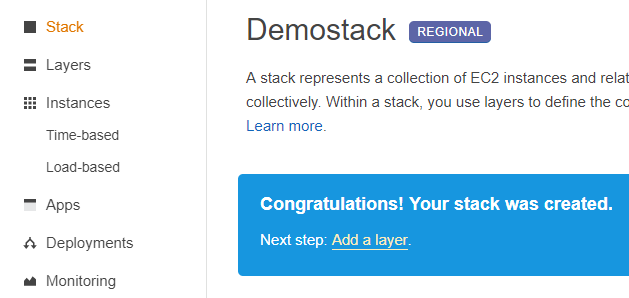
Step 7) In the Layers section, click on Add Layer.

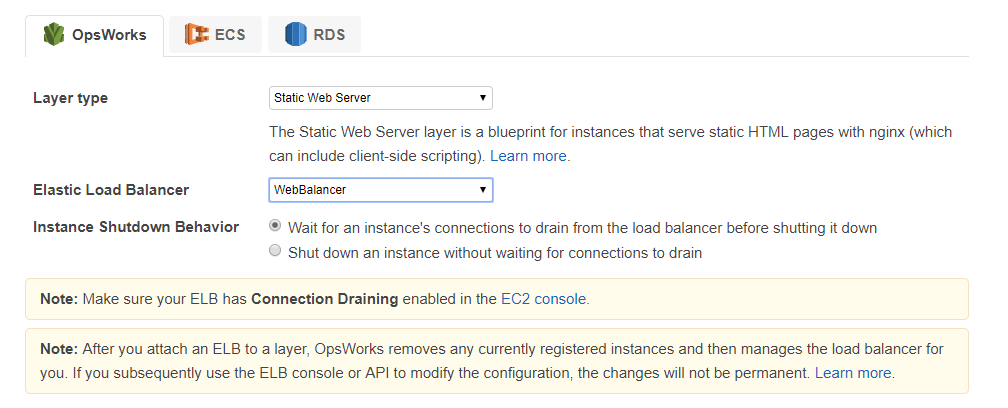
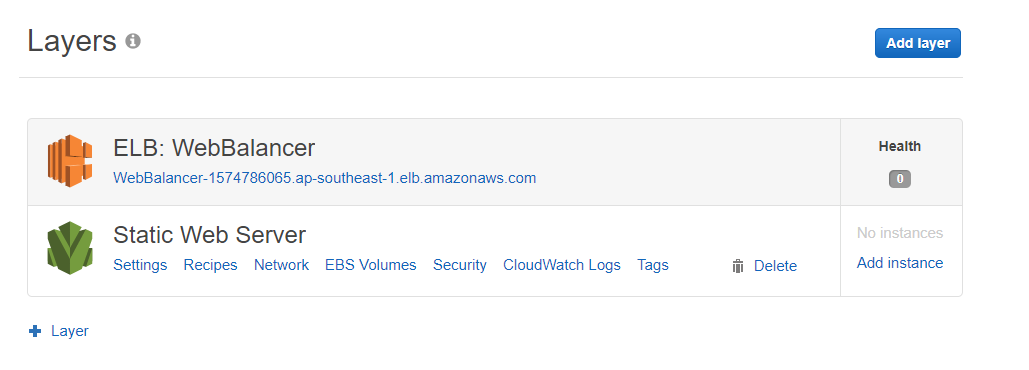
Step 8) In the next screen, you can choose the Layer type. In this example, we are choosing the static web server which will install the nginx web server. You also need to attach an Elastic Load Balancer to your stack. Note that the instances which are currently mapped to the ELB will be removed. In the below snapshot, a load balancer has already been created from before.
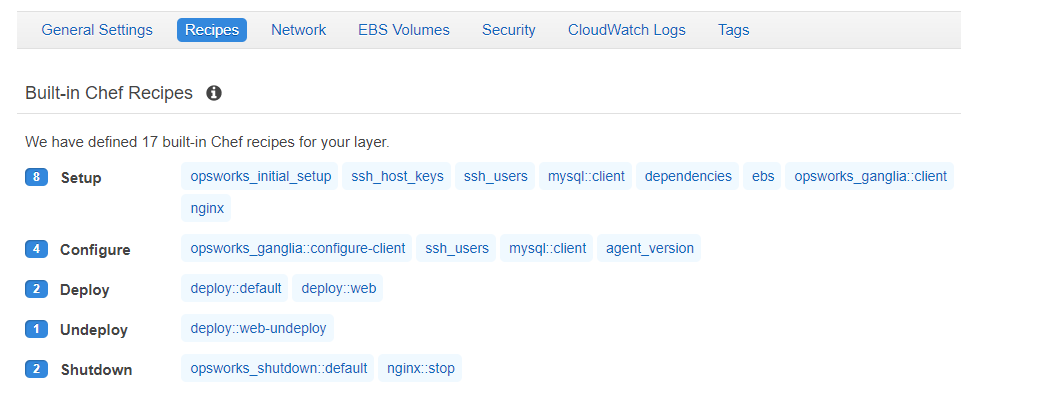
Once the layer is created, you can view the settings of the Layer
a) The Recipes section will show you the built-in recipes for your stack. If you want to use your own recipes then you need to use your own cookbooks and change the layer settings accordingly.
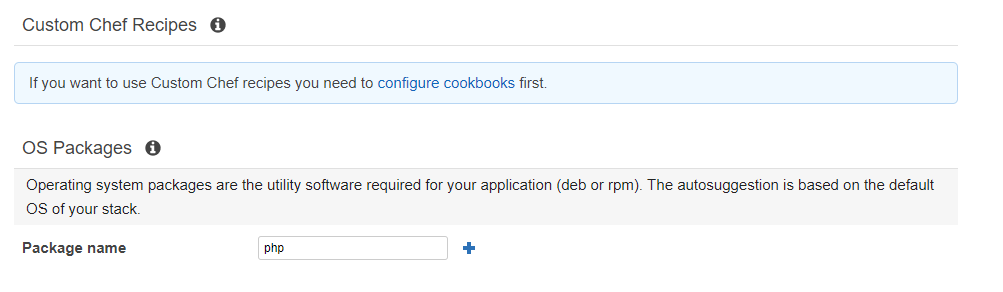
b) You can also choose the install custom packages based on the OS in the OS packages section.
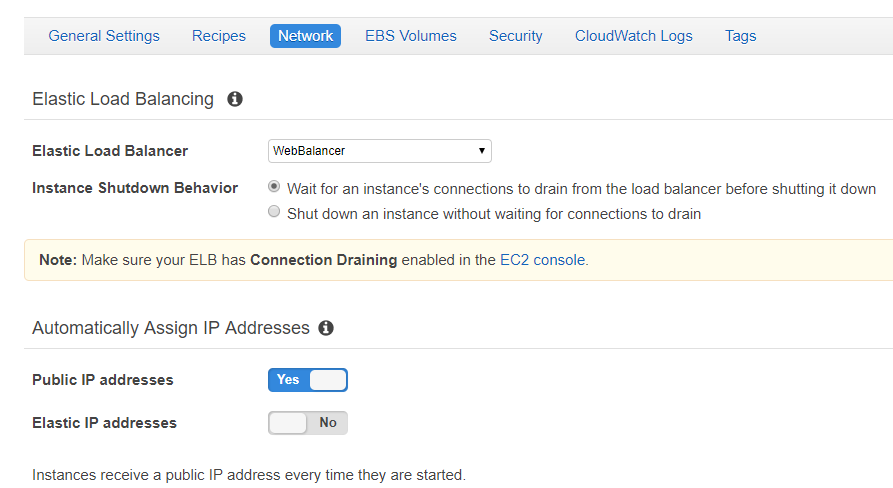
c) The network section is shown below. This is where you can decide on the ELB to use and whether to have Public and Elastic IP addresses.
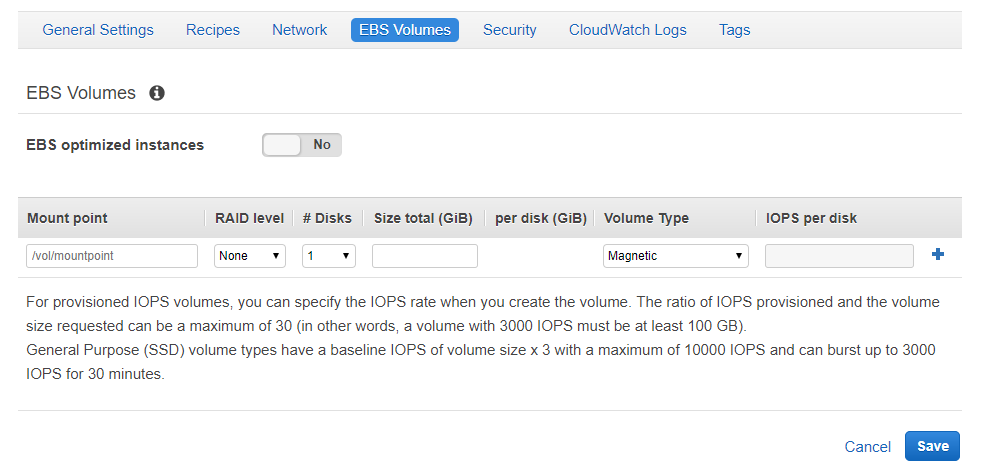
d) The EBS Volumes are shown as below
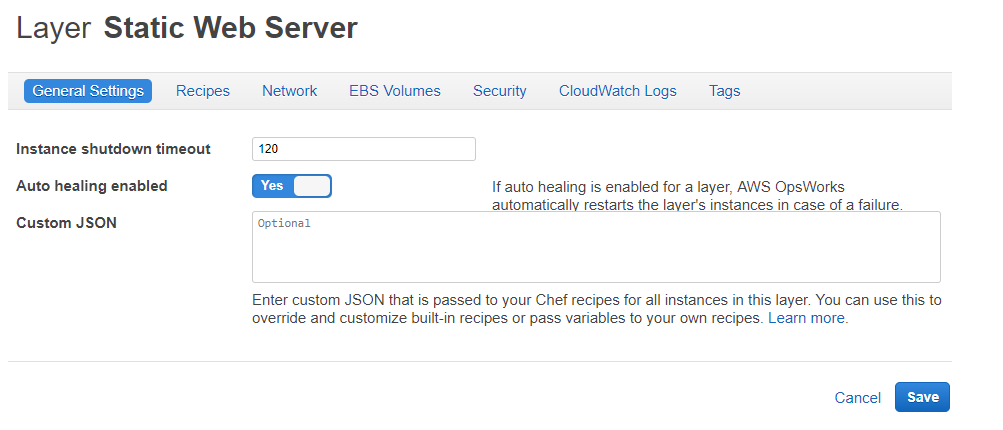
e) In the General section, you have the Auto healing feature. Every instance has an AWS OpsWorks Stacks agent that communicates regularly with the service. AWS OpsWorks Stacks uses that communication to monitor instance health. If an agent does not communicate with the service for more than approximately five minutes, AWS OpsWorks Stacks considers the instance to have failed.
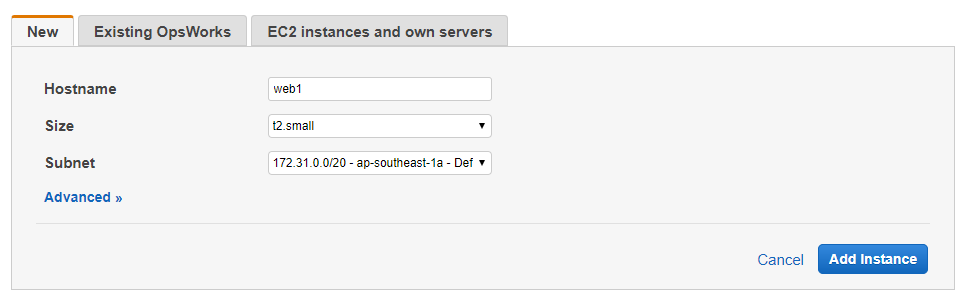
Step 9) Once the Layer is added, click the ‘Add instance’ to add an instance to the layer.
Step 10) When adding an instance, choose the Instance type and then click on “Add Instance”
Step 11) Once the Instance is added, click on the start button to start the instance.
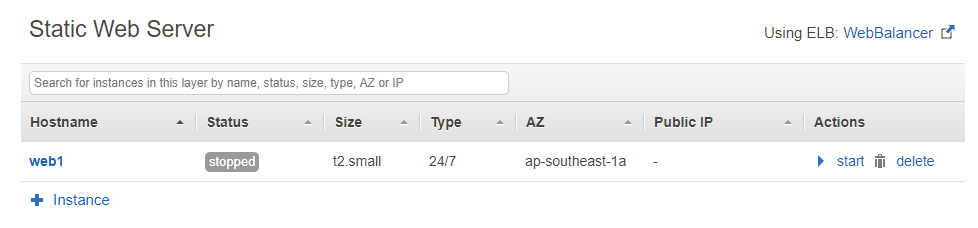
Step 12) Once the instance is launched, you will get a Public IP
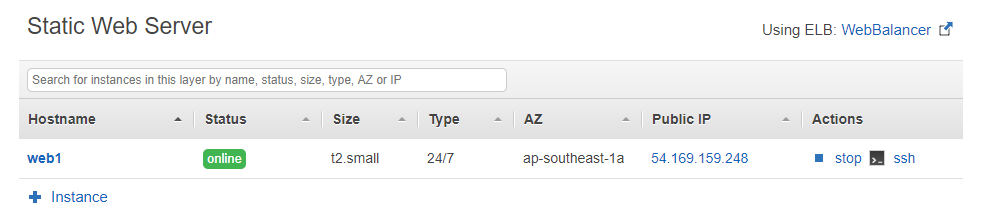
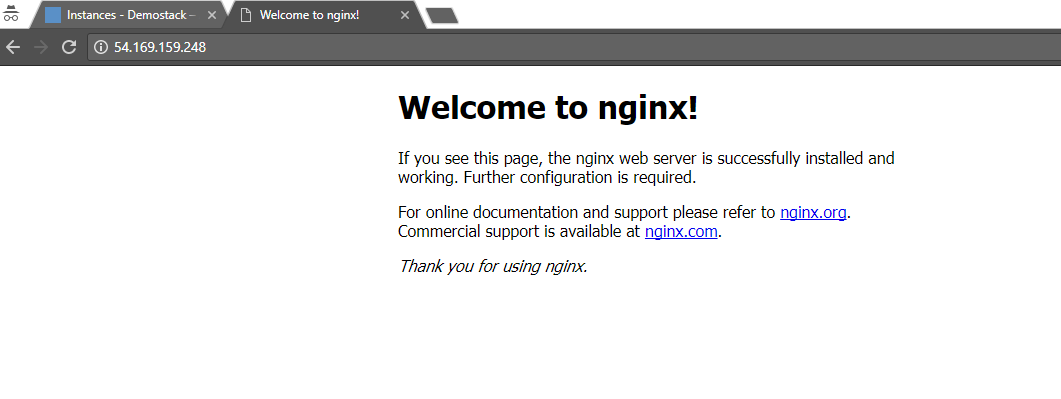
Then when you browse to the Public IP address in another tab you will get the home page of the nginx web server.
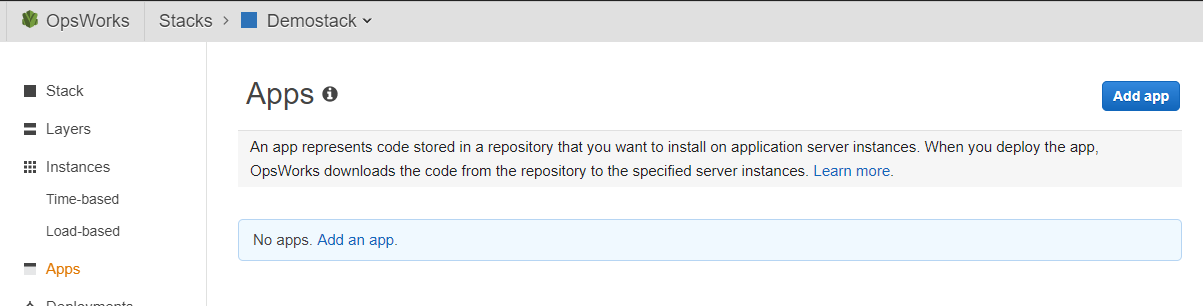
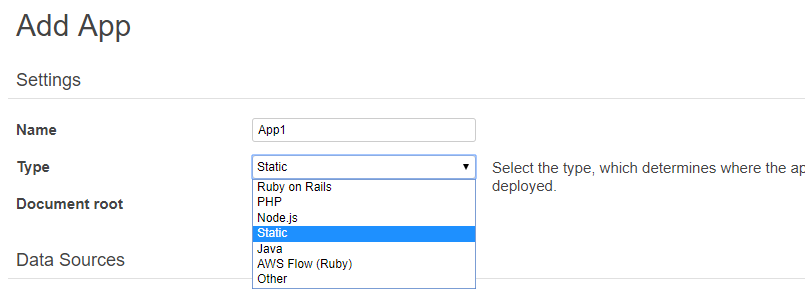
Step 13) Next look at deploying your application. Click on ‘Add app’ in the Apps section of the stack.
Step 14) In the App section, choose the following settings. Choose ‘Static’ in this case.
Step 15) Enter the URL for the source code. Ensure to provide the code from the GitHub public repository of your choice.
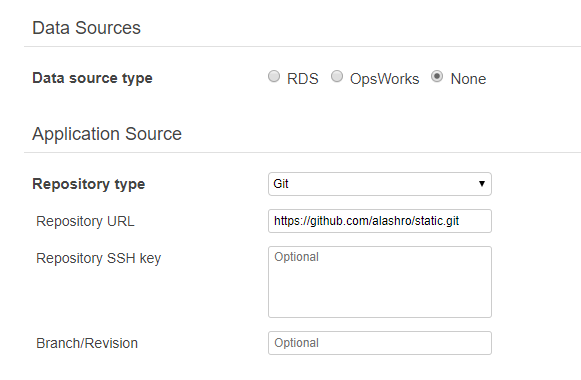
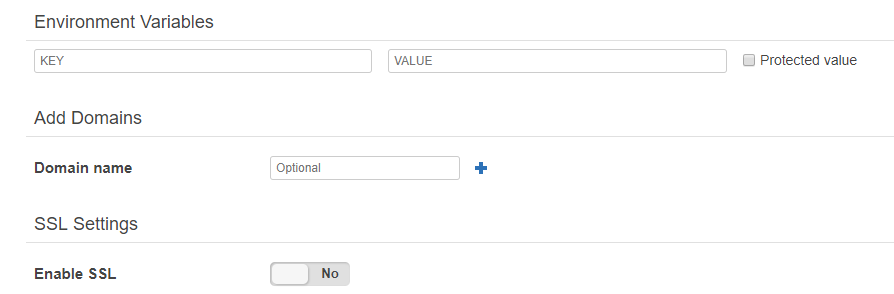
You can add additional settings if required
Step 16) Now that you have the app, click on ‘Deploy’
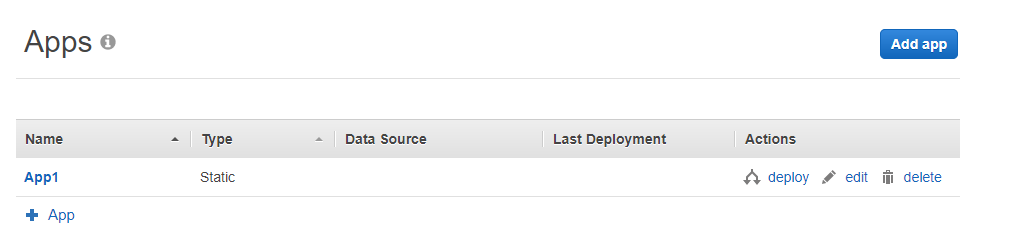
Choose the Deploy option. When deploying you have the ability to deploy the code to a set of instances only or to all instances.
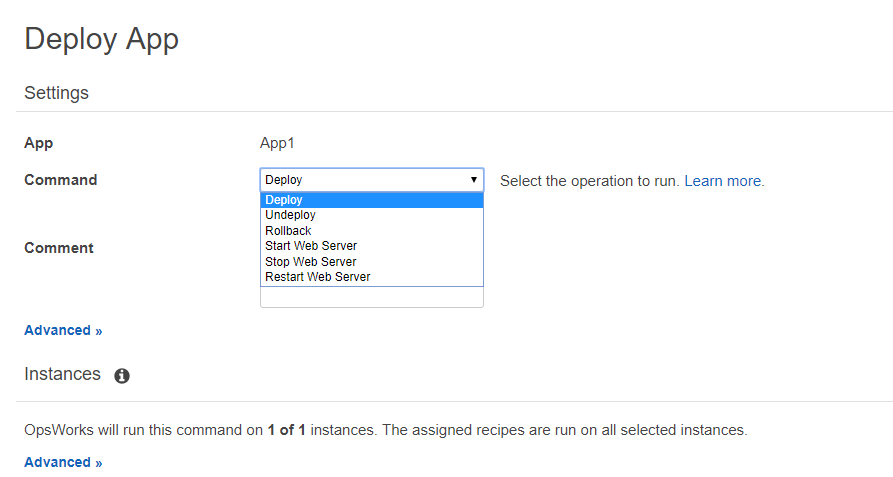
The other commands do the following –
a) Undeploy – Triggers an Undeploy lifecycle event, which runs the un-deploy recipes to remove all versions of the app from the specified instances.
b) Rollback – Restores the previously deployed app version.
c) Start Web server – Runs recipes that start the application server on the specified instances. This command is not available in Chef 12 stacks.
d) Stop Web Server – Runs recipes that stop the application server on the specified instances. This command is not available in Chef 12 stacks.
e) Restart Web Server – Runs recipes that restart the application server on the specified instances. This command is not available in Chef 12 stacks.

Start Web Server, Stop Web Server, Restart Web Server, and Rollback are essentially customized versions of the Execute Recipes stack command. They run a set of recipes that perform the task on the specified instances.
- These commands do not trigger a lifecycle event, so you cannot hook them to run custom code.
- These commands work only for the built-in application server layers.
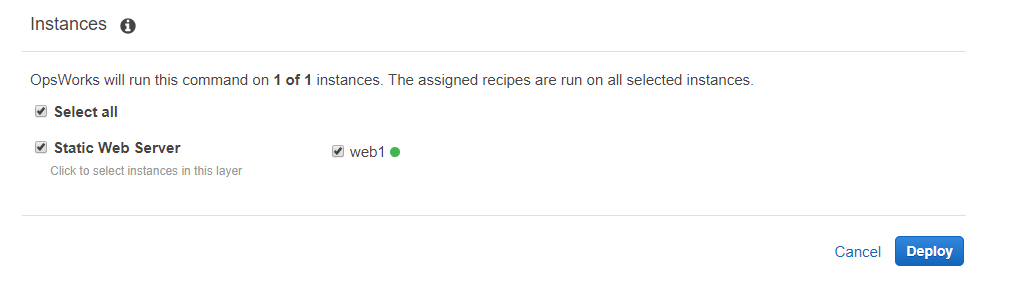
Step 17) You can then choose the instances where it should run and then finally click on ‘Deploy’
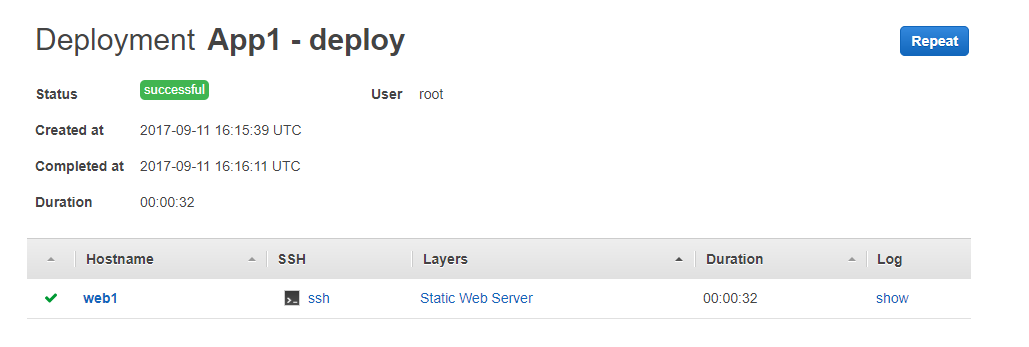
If the App deployment is successful, you will get the response. You can also see the log if required.
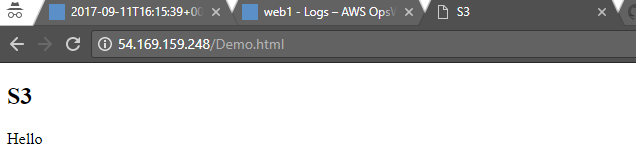
If you now go to the site, you can see the Demo.html file.
Step 18) You can also deploy changes to the app. If you make a change in GitHub, to the Demo.html file, and do a deploy again in Opswork, you will see the modified application.
Final Points to Remember
1) Opsworks consists of stacks. You can have stacks for different purposes, for example, you can define separate stacks for development, staging and production environments in your organization.
2) Each stack consists of layers. For example, you can have one layer for your Web server and another layer for your database server.
3) Once the layers are defined, you define and start the instances in each layer.
4) You then finally deploy the apps to the layers. You can deploy an app multiple times. Remember the following key points
- AWS OpsWorks Stacks automatically deploys the current app version to new instances when they are started.
- AWS OpsWorks Stacks automatically deploys the latest app version for offline instances, including load-based and time-based instances, when they are restarted.
- You must manually deploy the updated app to online instances.
Whizlabs AWS Certified DevOps Professional Practice Tests help students to get mentally prepared for the actual certification exam. Practicing several times through AWS mock tests before the certification exam, makes you better prepared for the real one.
- Top 20 Questions To Prepare For Certified Kubernetes Administrator Exam - August 16, 2024
- 10 AWS Services to Master for the AWS Developer Associate Exam - August 14, 2024
- Exam Tips for AWS Machine Learning Specialty Certification - August 7, 2024
- Best 15+ AWS Developer Associate hands-on labs in 2024 - July 24, 2024
- Containers vs Virtual Machines: Differences You Should Know - June 24, 2024
- Databricks Launched World’s Most Capable Large Language Model (LLM) - April 26, 2024
- What are the storage options available in Microsoft Azure? - March 14, 2024
- User’s Guide to Getting Started with Google Kubernetes Engine - March 1, 2024