Exam Objective
This topic “Working with Code Deploy” addresses the Continuous Delivery and Process Automation topic as highlighted in the AWS Blueprint for the exam guide
Code Deploy is a service that helps with the Continuous deployment process. It can be used to deploy code either on EC2 Instances or on on-premise infrastructure. In the deployment, you can do either an in-place deployment or a Blue Green Deployment.
In the in-place deployment, each instance in your deployment group is stopped, the latest version of your code is installed and then the application is started and validated. You can also have the instances sitting behind a load balancer.

In the Blue green environment, Code Deploy can create a new environment which can be switched over once the new version of the application is ready for the deployed to the new environment.
How does Code Deploy work?
The below snapshot from the AWS documentation shows the structure of the Code Deploy service
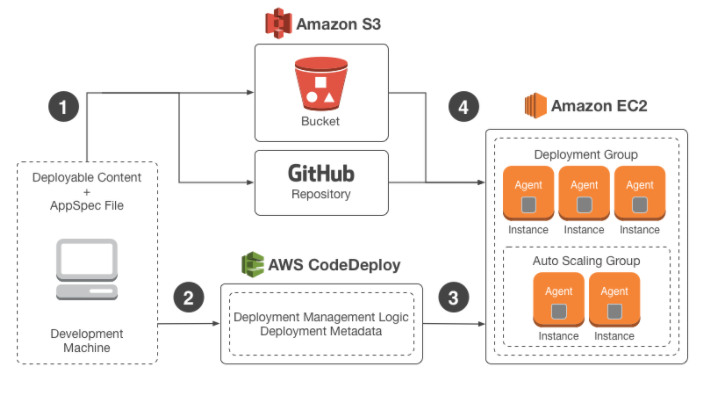
The different parts of CodeDeploy are as follows
1) You first ensure that your code is available for deployment. The code package must also contain a file called appspec.yml. This AppSpec file is specific to AWS Code Deploy. It tells Code Deploy how to deploy the package to the underlying Instances.
2) You then submit this as a release Code Deploy from either Github or from an S3 bucket.
3) The code gets deployed to EC2 Instances which are put as part of a deployment Group. These EC@ instances need to have Code Deploy agents running on them. The agents in the EC2 Instances deployment group then polls Code Deploy and gets the details of the code to pull in.
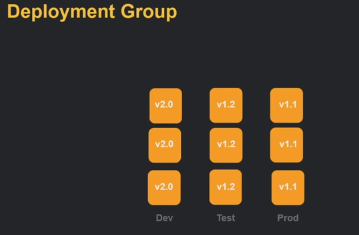
You can have deployment groups for various stacks in your organization as shown below from the AWS documentation.
Implementing Code Deploy
Now let’s look at an example of how we can use Code Deploy
In our example, we are going to deploy a simple HTML file(Demo.html) to a set of 2 EC2 Instances. The Instances will have a tag of Name=staging. This is required to classify the instances as part of a deployment group. The instances will have the nginx server deployed. This will be used to host the HTML file. The server can be installed as part of the User Data section of the EC2 Instance is required. You then need to upload the HTML file and the appspec.yml file to an S3 bucket as a zip file. Here is the appspec.yml file.
version: 0.0
os: Linux
files:
- source: /Demo.html
- destination: /var/www/html/
The appspec.yml file just specifies to copy the Demo.html file to the HTML folder of the nginx web server.
Step 1) Before we can start using Code Deploy, we need to first create 2 IAM Roles.
- The first role is required for the EC2 Instances to work and communicate with the CodeDeploy service.
- The second role is required by CodeDeploy to ensure it can work with the resources in the AWS account.
So first we need to ensure we create a role which allows the EC2 instances to work with CodeDeploy
When creating a role, we need to choose the EC2 one
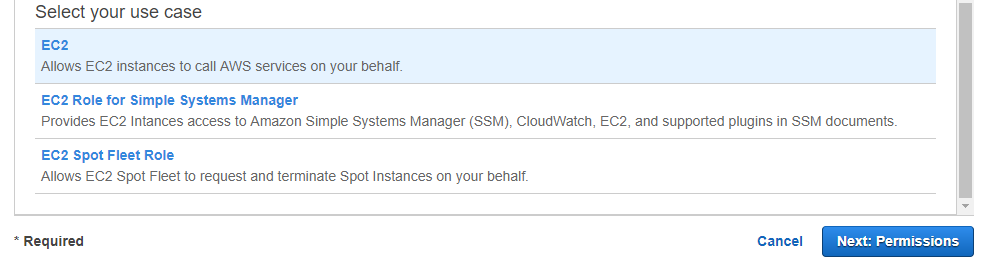
Next, choose the EC2 Code Deploy role
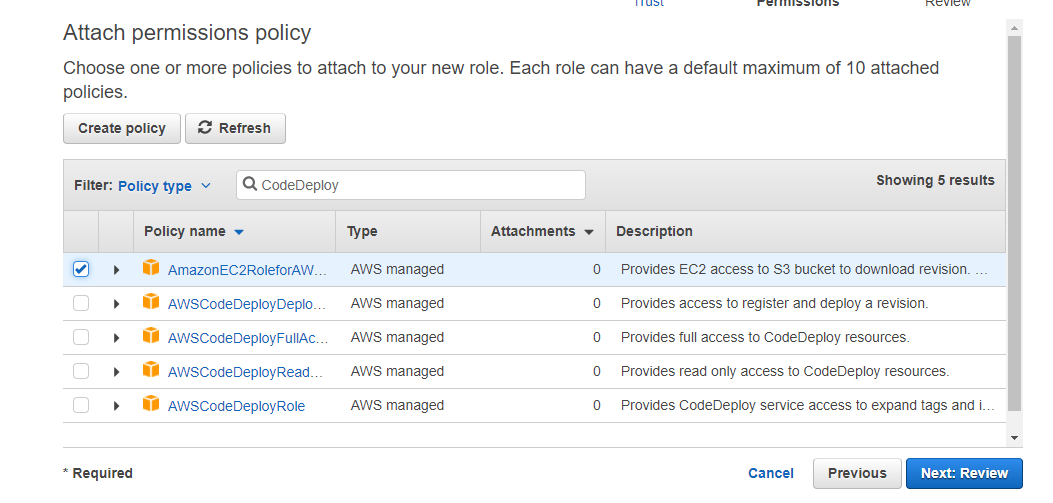
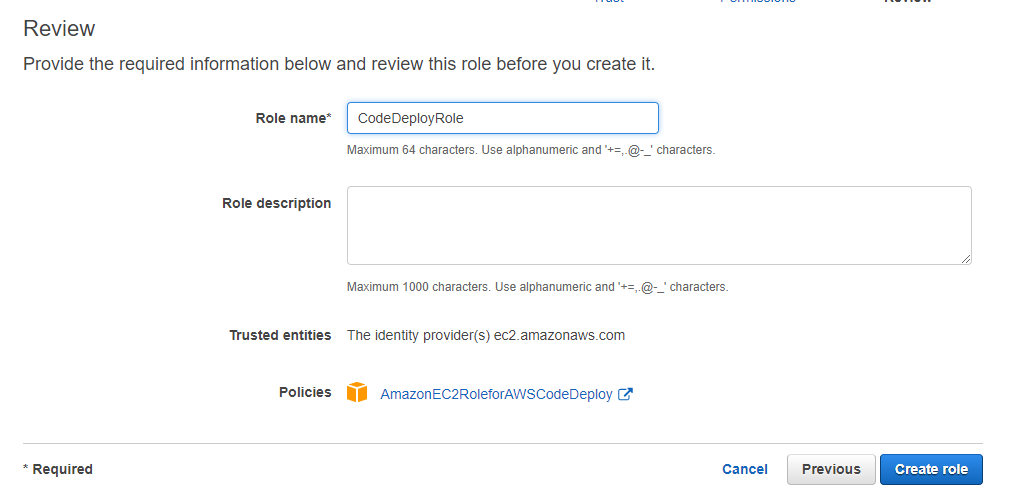
Give a name and then create the Role
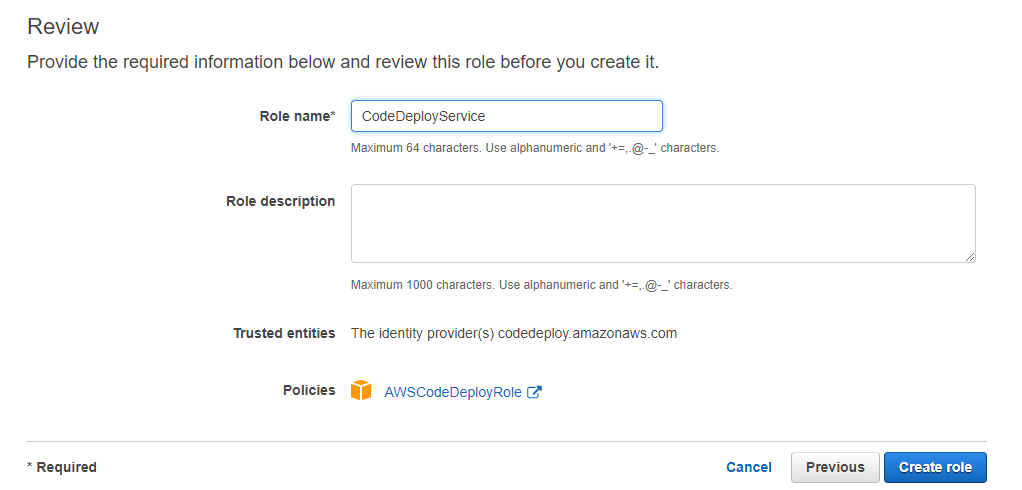
Also, create a separate CodeDeploy service role. This time choose the CodeDeploy service from the below screen.

Give the role a name and click on Create Role.
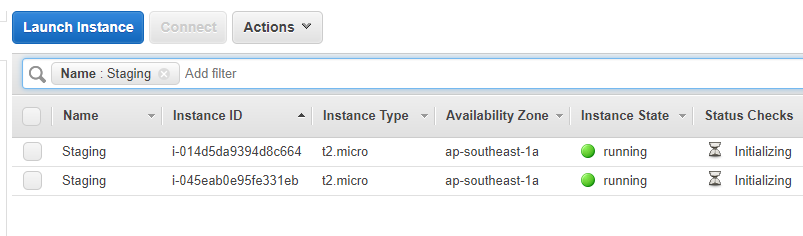
Step 2) Now we need to create instances which will be part of our deployment Group. So here we have created 2 instances which have the tag of Staging. You need to ensure that you provide a tag to the underlying instances.
Step 3) Assign the role which was created in the earlier step to your EC2 instances so that they can communicate with the CodeDeploy service.
Choose the instance and attach the CodeDeployRole to each instance.

Step 4) Next we have to install the CodeDeploy agent on the EC2 Instances. This can also be done via User Data when launching the instances. The below section of steps is for Ubuntu instances.
a) First, perform an update of all the packages on the system
sudo apt-get update
b) Next, install the ruby package
sudo apt-get install ruby
c) Next install the wget package
sudo apt-get install wget
d) Download the codedeploy files from the relevant S3 location
wget https://aws-codedeploy-ap-southeast-1.s3.amazonaws.com/latest/install
For the list of S3 location with the code deploy files, just browse to the below location
http://docs.aws.amazon.com/codedeploy/latest/userguide/resource-kit.html#resource-kit-bucket-names
e) Next, change the permissions on the install file
chmod +x ./install
f) Next, install the files
sudo ./install auto
g) Next check if the codedeploy agent is started
sudo service codedeploy-agent status
if not, then run the below command
sudo service codedeploy-agent start
Step 5) Now it’s time to create our application and the deployment group.
Go to the Code Deploy service under Developer Tools
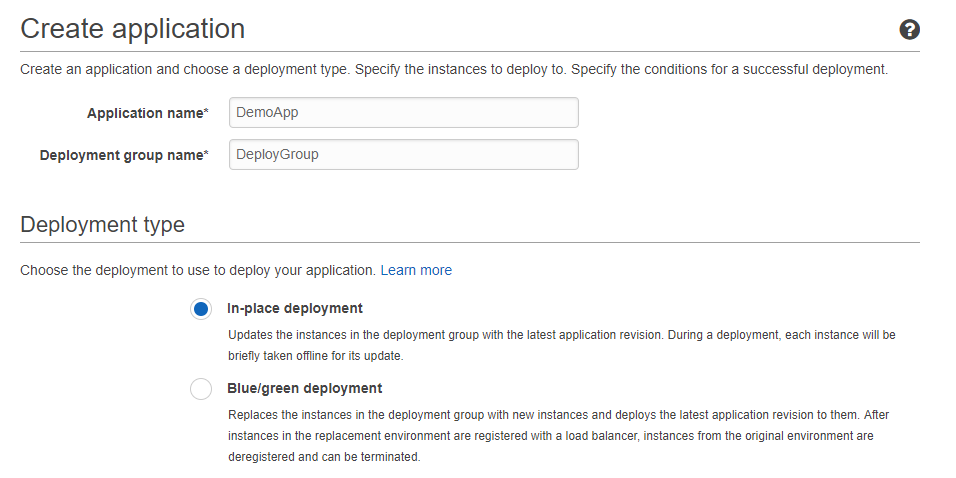
Step 6) Choose to create a new application. Give a name for the Application and the Deployment Group. You can choose an in-place update or a Blue Green deployment.
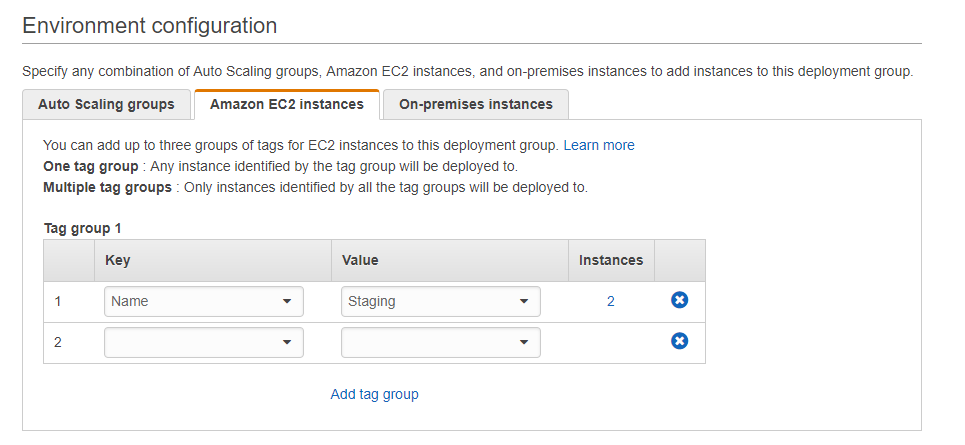
Step 7) Next in the environment configuration, specify that you want to deploy to Amazon EC2 Instances. Specify the tag name where you want to deploy the instances. Choose the instances which we created in the earlier step which had the tag of Staging.
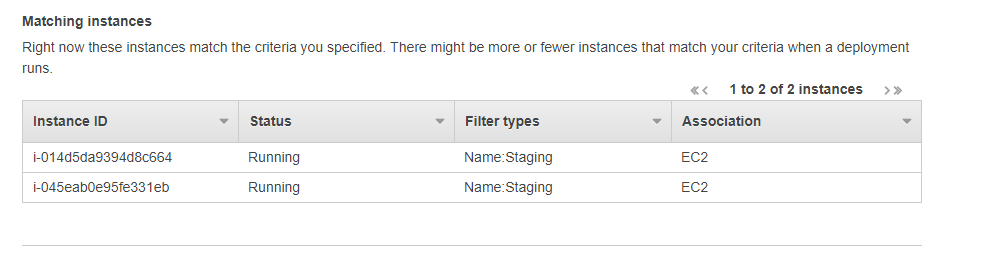
You will also see the matching instances
Step 8) You can then mention the below Deployment configurations
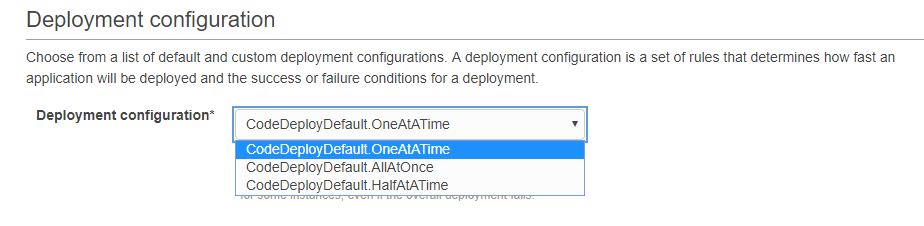
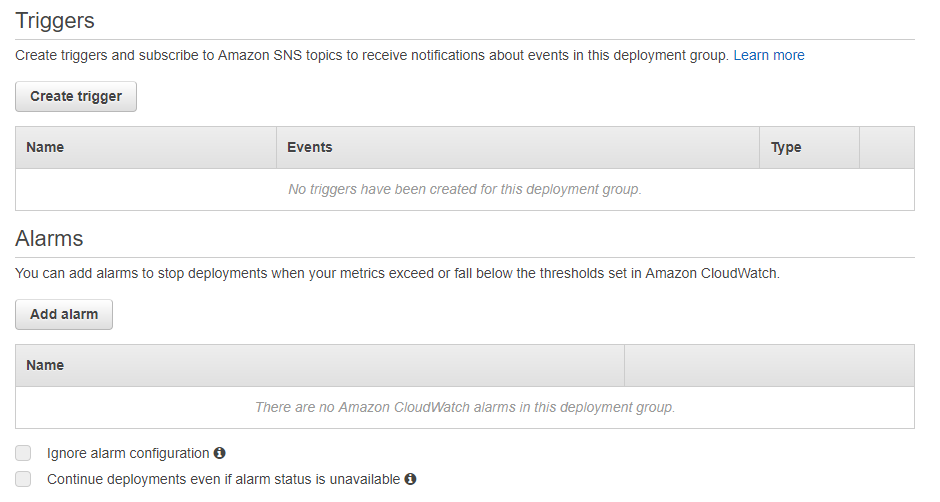
Step 9) If you want you can create triggers and alarms
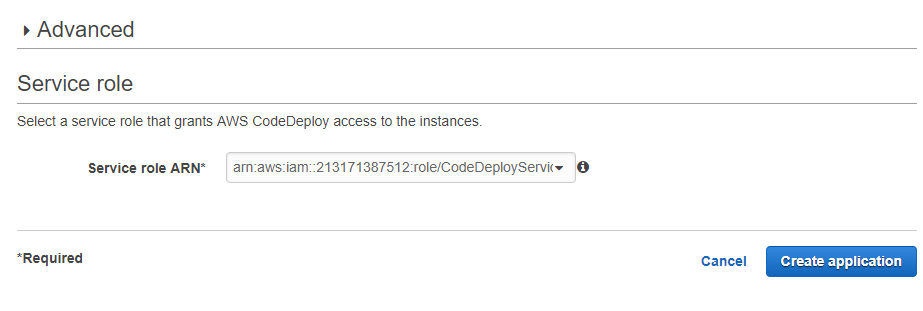
Step 10) Next choose the CodeDeployService Role and create your application
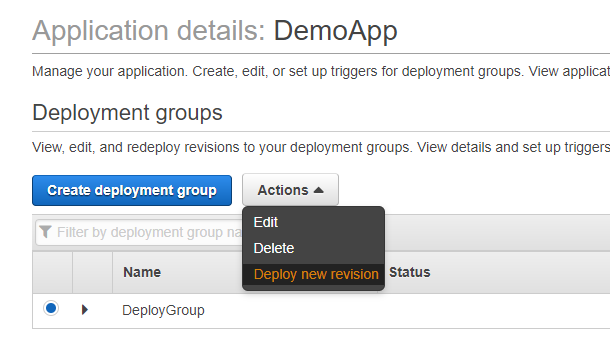
Step 11) Once the application is created, click on the App and choose ‘Deploy new revision’
Step 12) In the Repository type, choose S3 and enter the location of the zip file.
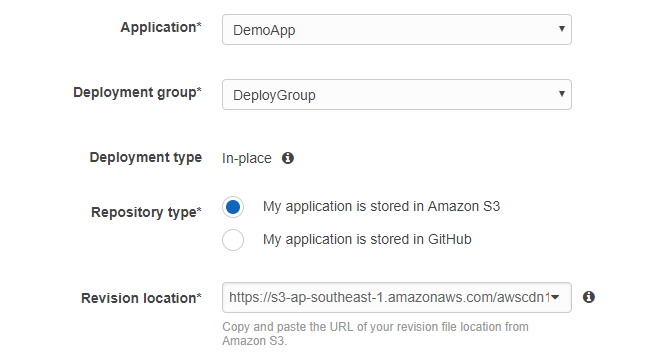
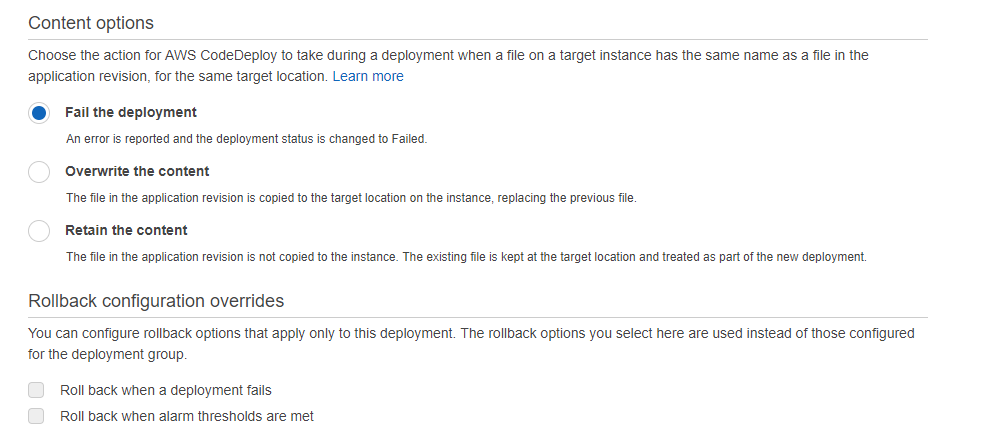
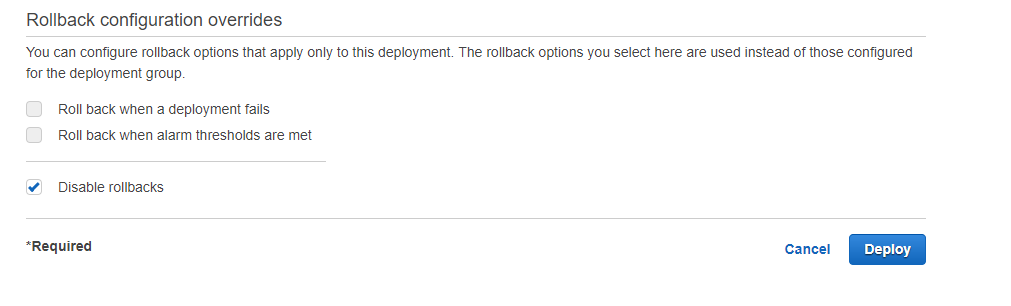
You also have the following options
Step 13) In the last step click on Deploy
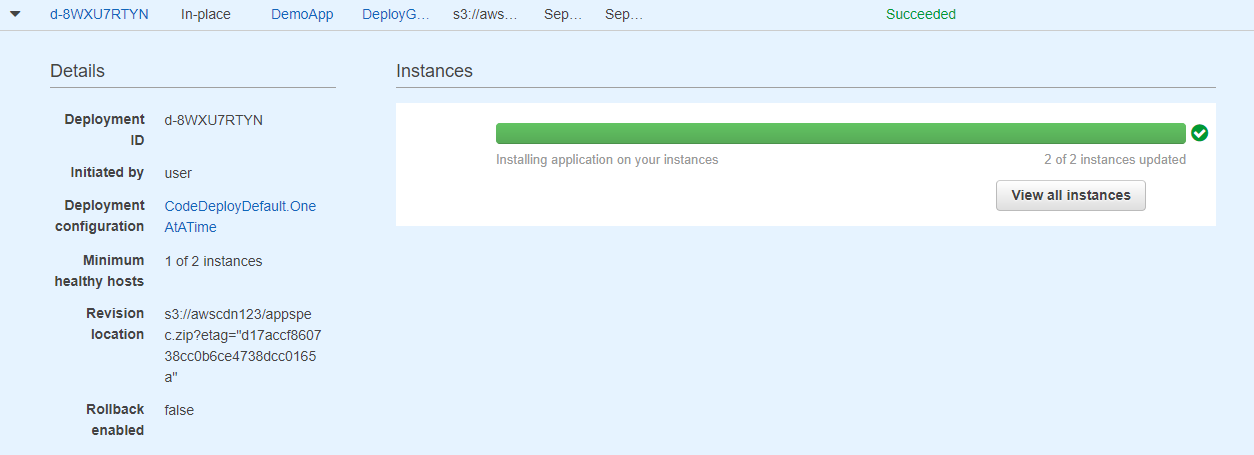
Next, you will see the deployment taking place
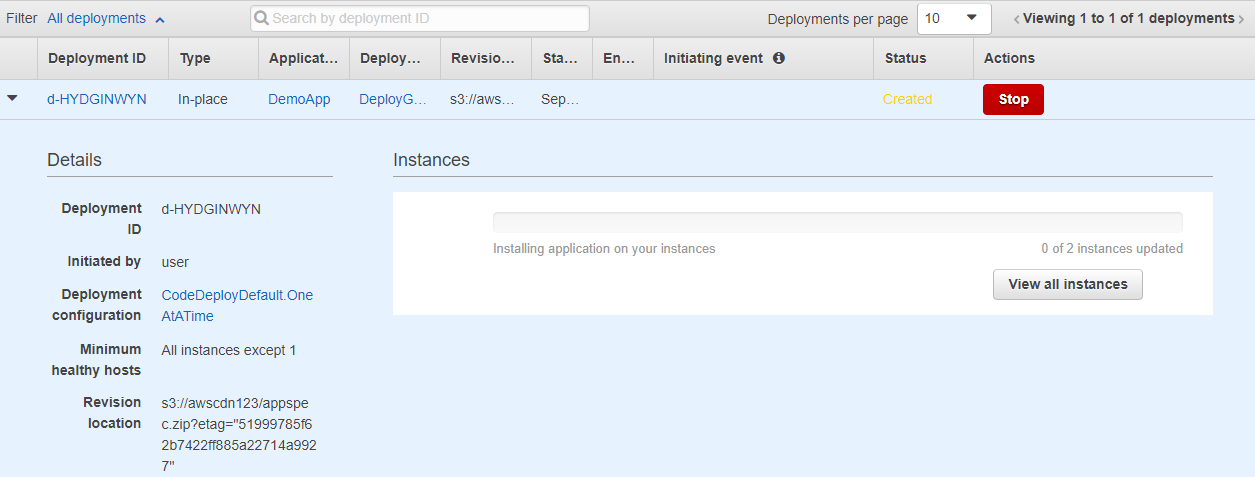
Step 14) If the deployment is successful, you will get a successful deployment message
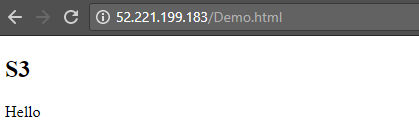
And if you go on to any one of the instances, you will get the webpage deployed.
Final Points to Remember
1) Code Deploy is a service that helps with the Continuous deployment process. It can be used to deploy code either on EC2 Instances or on on-premise infrastructure.
2) You can have 2 types of deployments
- In the in-place deployment, each instance in your deployment group is stopped, the latest version of your code is installed and then the application is started and validated. You can also have the instances sitting behind a load balancer.
- In the Blue green environment, Code Deploy can create a new environment which can be switched over once the new version of the application is ready for the deployed to the new environment.
Whizlabs AWS Certified DevOps Professional Practice Tests help students to get mentally prepared for the actual certification exam. Practicing several times through AWS mock tests before the certification exam, makes you better prepared for the real one.
- Top 20 Questions To Prepare For Certified Kubernetes Administrator Exam - August 16, 2024
- 10 AWS Services to Master for the AWS Developer Associate Exam - August 14, 2024
- Exam Tips for AWS Machine Learning Specialty Certification - August 7, 2024
- Best 15+ AWS Developer Associate hands-on labs in 2024 - July 24, 2024
- Containers vs Virtual Machines: Differences You Should Know - June 24, 2024
- Databricks Launched World’s Most Capable Large Language Model (LLM) - April 26, 2024
- What are the storage options available in Microsoft Azure? - March 14, 2024
- User’s Guide to Getting Started with Google Kubernetes Engine - March 1, 2024